The freeze-thaw climate window is the short stretch of weather when an exterior repair can be installed, sealed, and allowed to cure before the next hard freeze. If you live in Minnesota, Wisconsin, Michigan, Pennsylvania, New York, Colorado, or another cold-weather state, timing matters almost as much as the material you buy. I've watched good siding and flashing work fail because somebody tried to rush it during a wet November week.
This isn't about finding one perfect day. It's about finding a reliable block of weather. For most exterior projects, that means daytime temperatures above 40 degrees, dry conditions, and several nights that stay above the product's minimum curing temperature. The exact requirement depends on the sealant, adhesive, paint, roofing cement, or coating being used.
What the freeze-thaw climate window actually means
A freeze-thaw climate window usually appears in spring and fall. Spring gives you a chance after snow melts but before heavy summer rain. Fall can be excellent after the heat fades, provided the work starts early enough. In both seasons, the ground and the wall assembly can remain colder than the air temperature. A sunny 48-degree afternoon doesn't mean a north-facing wall is ready for caulk or paint.
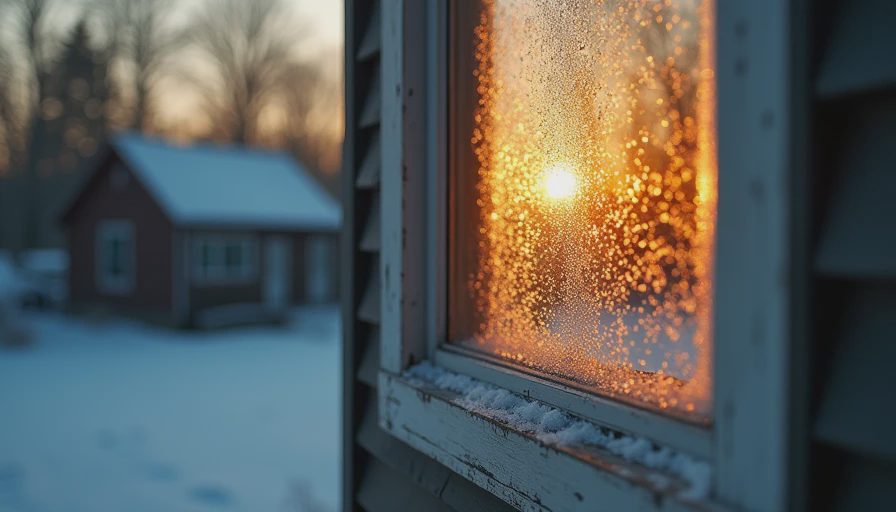
The dangerous cycle is simple. Moisture gets into a joint, crack, end grain, or unsealed fastener hole. The water freezes and expands. That movement pushes materials apart. When temperatures rise, the gap may look smaller, but it has already become an easier path for the next round of water.
Vinyl siding can buckle when installers nail it too tightly. Fiber cement can absorb moisture at an unprotected cut. Deck boards can split when stain is applied over damp wood. Mortar joints can crumble if they freeze before they cure. The freeze-thaw climate window gives those materials a chance to settle instead of being tested immediately by ice.
Which exterior projects need the best timing
Some repairs tolerate cold better than others. A roof replacement with standard asphalt shingles can often happen in cool weather, though shingles seal more slowly when temperatures drop. A professional roofer may hand-seal tabs when needed. Small roof patches are different: roofing cement can become stiff, and wet or icy surfaces are unsafe.
Caulking windows, doors, and trim deserves a dependable freeze-thaw climate window. Many exterior sealants list a minimum application temperature around 40 degrees, while some newer products are designed for colder installation. Read the technical data sheet, not just the label on the tube. The joint also needs to be dry, clean, and sized correctly. A thick bead over a dirty gap is not a repair.
Painting is another timing-sensitive job. Latex exterior paint can struggle below 50 degrees, especially overnight. It may remain soft, develop poor adhesion, or show uneven sheen. A quality crew will check the forecast and the surface temperature, not simply arrive because the calendar says October.
Deck staining, wood repair, fiber-cement replacement, and masonry tuckpointing all benefit from the freeze-thaw climate window. If a contractor says temperature does not matter, ask what the product manufacturer requires. That question alone separates careful work from wishful thinking.
How to check the weather before work begins
Start with a 10-day forecast, but don't treat it as a guarantee. Look for three useful conditions: dry weather during installation, acceptable temperatures overnight, and no immediate freeze after the product is applied. A two-day window is often enough for a small caulking repair. A full siding project may need a week or more of cooperative conditions.
Walk the house before calling anyone. Mark cracks with painter's tape. Note soft trim, peeling paint, loose flashing, and dark stains below windows. Take photos from several angles. This helps a contractor see whether the problem is limited to one joint or connected to a larger drainage failure.
For a small repair, expect roughly $250 to $800 depending on access and the amount of rotten material. Replacing several window trim sections may run $1,000 to $3,000. A complete siding project on an average ranch can range from $8,000 to $14,000 for vinyl and $15,000 to $25,000 for fiber cement, including typical tear-off and labor. Those projects need more planning than simply waiting for a warm Saturday.
I've been on that roof. Let me save you the trip: don't schedule a delicate repair based on one warm afternoon between two freezing nights.

Materials that behave better in cold-weather work
The best choice is not always the most expensive product. Use an exterior sealant rated for the temperatures you actually have. Hybrid polymer and certain polyurethane sealants often offer a wider installation range than basic bargain acrylic caulk, but the product sheet still controls. Keep tubes indoors before use so they dispense properly. Never heat a caulk tube with an open flame or leave it on a hot vent.
For siding, proper clearances matter more than a premium color. Leave room for vinyl panels to move. Prime cut edges on fiber cement. Use corrosion-resistant fasteners and keep butt joints away from obvious water paths. A good crew will explain how they handle inside corners, window flashing, and the bottom edge instead of talking only about the brand name.
For decks, moisture testing is worth the few minutes it takes. Wood that looks dry on top can still be wet inside. Stain applied too soon can trap moisture, peel, and force you to pay for sanding again the next season. Pressure-treated lumber often needs substantial drying time after installation.
Questions to ask your contractor
Ask what temperature range the products require, including the overnight minimum. Ask how the crew will protect an open wall if rain arrives. Ask whether they will replace wet sheathing or simply cover it. Ask where new flashing drains. Ask how long the repaired joint needs before it can get wet.
A legitimate contractor won't promise that weather never changes. Instead, the estimate should explain how scheduling works when the freeze-thaw climate window disappears. Some crews move to interior work, cover exposed areas properly, or return when conditions improve. Get that plan in writing, along with who supplies replacement materials if hidden rot is found.
Be wary of a low bid that excludes flashing, trim replacement, disposal, or primer. A $600 quote can become a $1,500 repair after the wall is opened. That doesn't always mean the contractor is dishonest; hidden damage is common. It does mean the estimate should show allowance prices and hourly rates before work starts.
A practical seasonal plan for homeowners
In late winter, inspect after the first thaw. Look for displaced siding, lifted shingles, cracked caulk, and stains around windows. In spring, schedule repairs that need sealant, paint, or dry wood. Don't wait until the first warm weekend when every exterior crew is booked.
Use summer for projects that need long curing time, full repainting, major deck repairs, or extensive masonry work. In early fall, finish exposed joints and flashing before nighttime temperatures drop. If a repair is not urgent and the weather has turned cold and wet, temporary protection is often smarter than forcing permanent work.
A temporary patch should still direct water away from the wall. Heavy-duty flashing tape, a properly installed tarp, or a temporary cap can buy time. Duct tape over a leaking window is not a plan, especially when wind can drive water behind the siding.
The freeze-thaw climate window is easy to miss, but it isn't mysterious. Watch the surface temperature, read the product instructions, and give each repair enough dry time. Spend money on drainage and installation details before upgrading to a fancier finish. Done at the right time, a modest repair can last for years. Done in a hurry, it can become next spring's bigger invoice.
Stay warm. Stay dry. — Dean





No notes on this sheet yet.