A 36x72 window is a common choice for bedrooms, living rooms, basements, and other openings where you want plenty of glass without filling an entire wall. The numbers refer to the nominal size: 36 inches wide by 72 inches tall. That does not always mean the rough opening in your wall measures exactly 36 by 72 inches. I have seen homeowners order the window first, then discover the opening was framed for something different. Measure before you spend money.
A tall window can make a room feel bigger, but it also puts more weight and weather exposure on the frame. In a cold climate, the installation matters as much as the glass. A good 36x72 window installed badly will still leak air, collect condensation, or let water into the wall.
What the 36x72 Size Actually Means
Manufacturers use nominal sizes to make ordering simpler. The actual unit might measure about 35 1/2 by 71 1/2 inches, though dimensions vary by brand and product line. The rough opening is normally slightly larger than the window so the installer can set, level, shim, and insulate the unit. Your contractor should confirm the manufacturer's rough-opening requirement before framing or ordering.
There is another detail that gets missed: orientation. A 36x72 window is normally vertical, but some manufacturers list width first and height second while others describe the unit by a product code. Read the full specification sheet. A 72-inch-wide window is a completely different structural job and may need a larger header, stronger support, and more labor.
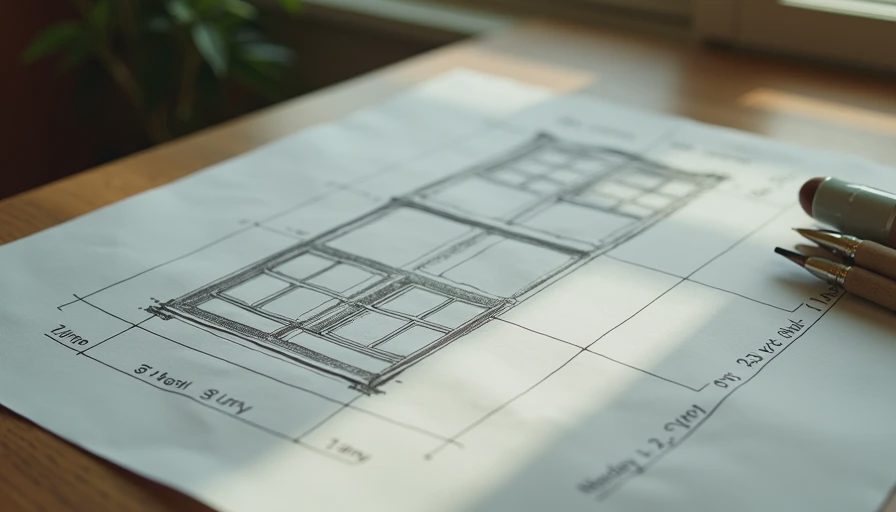
For a replacement project, measure the visible opening in at least three places for width and height. Record the smallest measurement. Check whether the existing frame is square by comparing diagonal measurements. If those diagonals differ by more than about 1/4 inch, the opening may need repair before a new unit fits correctly.
Choosing the Right Window Style
A tall opening gives you several workable designs. A single-hung unit has a fixed upper sash and a lower sash that moves upward. It is usually the most affordable option and has fewer moving parts to fail. A double-hung window lets both sashes move, which helps ventilation and makes cleaning easier from inside on many models.
A casement window uses a crank to swing outward. Casements often seal tightly because the sash presses against the weatherstripping when closed. That is useful on a windy Minnesota or New England house, but an outward-opening sash needs clearance from shrubs, walkways, and neighboring walls.
A fixed picture window gives you the most glass and usually the lowest air-leak risk, but it does not provide ventilation. For a bedroom, you also need to consider emergency escape requirements. Window rules vary by location and room, so do not assume a tall unit automatically meets egress requirements. Confirm the required clear opening with your local building department or installer.
Glass and Frame Materials That Make Sense
For most homes, double-pane insulated glass is the sensible baseline. The space between panes is filled with insulating gas, usually argon, and a low-emissivity coating helps reduce heat transfer. Triple-pane glass costs more and adds weight, but it can be worthwhile in a cold, windy location or a room that feels uncomfortable near the glass.
Look at the U-factor rather than relying only on a marketing label. Lower U-factor generally means better insulation. Solar heat gain coefficient, or SHGC, tells you how much heat from sunlight passes through. A south-facing window may benefit from a different SHGC than a shaded north-facing opening. You do not need to become a window engineer, but you should compare the numbers between products.
Vinyl frames are common because they are affordable, low-maintenance, and do not require painting. Fiberglass frames are stronger and handle temperature changes well, though they often cost more. Wood interiors can look excellent in a finished room, but they need careful sealing and maintenance. I would be cautious about any product that relies on a thin decorative coating to hide a weak frame.
How Much a 36x72 Window Costs
A basic vinyl unit may cost roughly $350 to $800 before installation. Better double-pane models with upgraded glass, a premium frame, or a recognized brand can run from $800 to $1,500. Fiberglass and triple-pane options often push the material price above $1,500. Custom colors, interior wood, unusual grids, and built-in blinds add more.
Installation commonly adds $300 to $900 per window when the opening is sound and the job is straightforward. A replacement in an older home can cost more if the crew finds rotten sill framing, damaged sheathing, lead-safe work requirements, or several layers of trim. New construction installation may involve siding, flashing, insulation, and interior finishing, so a 36x72 window project can land between $1,000 and $3,000 installed without being unusual.
Get the estimate separated into window, labor, interior trim, exterior trim, disposal, and repair allowance. That makes it easier to compare a $1,200 quote with a $2,100 quote. The cheaper number may simply leave out the flashing or finishing work.
Installation Details That Prevent Leaks
The rough opening should be clean, square, and supported before the window goes in. The sill needs a sloped, waterproof pan or properly integrated sill flashing. The unit should be shimmed at the manufacturer's recommended points, fastened without distorting the frame, and checked for smooth operation before insulation is added.
Flashing is where many bad installations show themselves. The side and head flashing should tie into the water-resistive barrier, not just sit under a bead of exterior caulk. Low-expansion window foam belongs in the perimeter gap. Standard expanding foam can bow the frame and make a sash stick. Exterior trim and sealant are the last line of defense, not the entire drainage system.
I inspected a 2002 house in St. Paul where a replacement window looked fine from the room. Outside, the contractor had packed the gap with fiberglass and smeared caulk over the old trim. Water had worked behind the siding for years. The repair involved replacing part of the sill and sheathing, not just adding more caulk. That is why installation details matter more than a shiny showroom sample.
Questions to Ask Before You Order
Ask for the exact unit dimensions, rough-opening size, U-factor, SHGC, glass warranty, frame warranty, and expected delivery date. Ask whether the price includes removal, disposal, interior casing, exterior capping, insulation, and flashing. If the installer says the existing flashing will be reused, ask how it will connect to the new window and house wrap.
Look closely at the contract. It should identify the window brand and series, not just say “energy-efficient replacement.” It should also explain who handles damaged framing discovered during removal. A repair allowance of $300 to $800 might cover minor work, but serious rot can cost more. You want that conversation before the crew opens the wall.
A 36x72 window is not automatically a difficult project, but its height makes a careful installation worthwhile. Buy the correct unit, verify the opening, and spend money on flashing before decorative upgrades. I have been on that roof. Let me save you the trip: water management beats extra trim every time.
Stay warm. Stay dry. — Dean



No notes on this sheet yet.