Ice dam prevention for homeowners isn't about buying a magic cable or scraping snow every time a storm passes. It starts with keeping the roof cold, moving warm air out of the attic, and giving melting snow somewhere to drain. I've been on that roof. Let me save you the trip.
An ice dam forms when heat escapes into the attic and warms the underside of the roof. Snow melts above that warm spot, runs toward the colder eaves, and freezes again. The ridge of ice grows. Water backs up under shingles and can stain ceilings, soak insulation, or damage exterior trim.
Why Ice Dams Form on Otherwise Good Roofs
I visited a 1998 two-story home in St. Louis Park after a homeowner found a wet spot above the living room window. The shingles were only six years old. The problem wasn't the shingle warranty. A bathroom exhaust fan had been venting into the attic, and the insulation was thin along the eave. Warm, damp air reached the roof deck, melted snow, and created a perfect ice dam.
That detail matters. A roof can be in decent shape and still leak during an ice event. Common heat sources include recessed lights, unsealed attic hatches, HVAC ducts, plumbing chases, and poorly insulated knee walls. Blocked soffit vents make things worse because even a well-insulated attic can't shed heat properly.
Good ice dam prevention for homeowners addresses the whole roof system, not just the visible ice. You need air sealing at the ceiling plane, adequate insulation, and continuous ventilation from soffit to ridge whenever the roof design allows it.
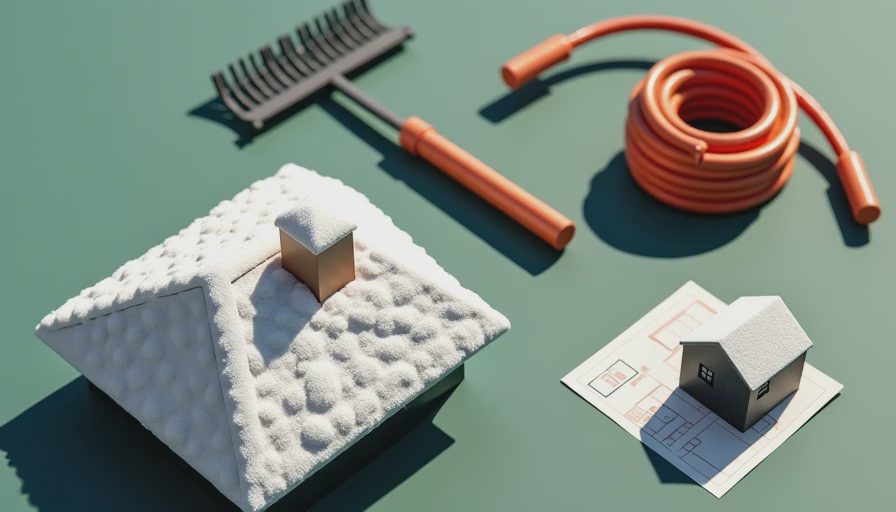
Start With the Attic, Not the Roof Edge
Before the first heavy snow, look inside the attic on a dry day. Bring a flashlight and check whether insulation reaches the outside wall plates. Those narrow areas near the eaves are where many houses lose heat. You should also look for darkened wood, rusty nails, damp insulation, or frost. Frost is a warning that warm moisture is entering the attic.
Seal gaps around plumbing pipes, electrical wires, the attic hatch, and chimney framing with the correct material. Expanding foam works for many small penetrations, while larger openings may need rigid foam and sealant. Do not bury recessed light fixtures unless they are rated for insulation contact. If an exhaust fan terminates in the attic, have it routed outdoors through a proper roof or wall cap.
Insulation comes after air sealing. In cold parts of the Midwest and Northeast, many older attics need substantially more insulation than they have. A contractor may charge roughly $1,500 to $4,000 for air sealing and blown-in insulation in an average home, depending on access and the amount of existing material. That often costs less than repairing a ceiling, repainting a room, and replacing wet insulation after one bad winter.
Ventilation and Roof Details That Matter
Soffit and ridge vents work as a system. Air enters low at the soffits, travels along the underside of the roof deck, and exits near the ridge. Baffles keep insulation from blocking those intake paths. Adding a ridge vent without usable soffit intake is not a complete fix; it can leave the upper roof ventilated while the eaves stay warm.
Look at roof valleys, dormers, skylights, and chimney intersections. These areas collect snow and have more seams where water can find a way inside. Proper underlayment and metal flashing help, but they do not correct a hot attic. When a roof is being replaced, ask the roofer to show how the ice barrier will extend along the eaves and around vulnerable penetrations.
For ice dam prevention for homeowners, gutter condition matters too. Gutters do not cause most ice dams, but clogged gutters and downspouts can hold frozen water against the fascia. Clean them in late fall, confirm that downspouts discharge several feet away, and repair loose sections before winter.

Should You Install Heat Cables?
Electric heat cables have a place, but they are a backup measure. They can create a channel through ice near the eave, helping water escape during a freeze. They cannot fix heat loss, blocked ventilation, missing flashing, or a roof that is already failing. Cheap cables installed in random loops often look busy and accomplish little.
If you use them, choose a product listed for exterior roof use, follow the spacing instructions, and use a properly protected outdoor circuit. Fasten the cable as directed rather than driving nails through shingles. A professional installation commonly runs several hundred dollars for a simple roof edge and more for a home with multiple valleys or dormers. Remove or inspect the system before each season; cracked insulation and damaged plugs are not worth the risk.
Roof rakes are useful for reducing snow load near the eaves after a storm. Use one from the ground, pull downward, and avoid scraping aggressively across shingles. Never climb onto an icy roof to chop an ice dam with an ax or shovel. That can damage shingles and put you in the hospital faster than it solves the leak.
When a Contractor Is the Right Call
Call a roofer or insulation contractor when you see interior staining, active dripping, widespread frost, sagging gutters, or ice that returns after every storm. You may need two trades: one to stop the water and another to correct attic heat loss. A roof repair alone can be temporary if the underlying attic problem remains.
Ask for a written explanation of the cause, not just a price for removing ice. A useful estimate should mention attic air sealing, insulation depth, soffit intake, ridge ventilation, flashing, and damaged interior materials where relevant. Be cautious when someone recommends a complete roof replacement solely because ice is visible. Sometimes the right fix is $1,000 of attic work and a small flashing repair, not a $12,000 roof.
A Practical Winter Routine
The simplest ice dam prevention for homeowners is a short seasonal routine. In October or November, clean gutters, inspect flashing from the ground, and check the attic for frost or dampness. Before major storms, confirm that downspouts are open and extension pieces are still in place. After heavy snow, watch for unusual ridges along the eaves and new ceiling stains.
If a leak starts, move furniture, place a container under the drip, and photograph the damage. Do not puncture the ceiling unless water is visibly pooling and you know how to do it safely. Call a qualified roofer for emergency water removal, then schedule an attic inspection when conditions are safe.
Ice dam prevention for homeowners is mostly boring work: seal the ceiling, insulate the attic, keep ventilation open, maintain gutters, and repair weak roof details before snow arrives. Boring is good here. It costs less than an emergency visit in January and keeps a small winter problem from becoming a full exterior repair.
Stay warm. Stay dry. — Dean




No notes on this sheet yet.