A freeze-thaw climate deck has to handle more than snow. Water gets into end grain, screw holes, cracks, and joints. Then it freezes, expands, and pushes those weak spots apart. I have repaired decks around Minneapolis where the boards looked fine in October and had split fasteners, loose railings, and rotted posts by the following spring. The design and installation details matter more than the brochure claims.
If you are planning a freeze-thaw climate deck, spend your money first on drainage, framing, fasteners, and sound footings. Decorative features come after those. A deck built with ordinary materials but careful detailing can outlast a more expensive deck installed with shortcuts.
Start With the Footings and Framing
The ground moves when moisture freezes and thaws. That movement is one reason deck posts and stairs slowly go out of level. In cold regions, footings generally need to extend below the local frost line. The required depth depends on your location, soil, and building department, so this is not the place to copy a neighbor's shallow concrete pads.
For a typical elevated deck, I prefer properly sized pressure-treated posts set on code-compliant footings, with beams supported rather than simply bolted to the side of posts. Use structural connectors rated for exterior exposure, not whatever bright zinc bracket is cheapest at the hardware store. Hot-dip galvanized or stainless hardware is worth the extra cost.
Keep the framing dry wherever possible. A small piece of joist tape over the top of each joist helps shed water away from the fastener penetrations. It costs roughly $40 to $100 for materials on an average deck and can protect thousands of dollars in framing. Leave room for air movement underneath, too. A deck that cannot dry will rot faster, even when the lumber is treated.
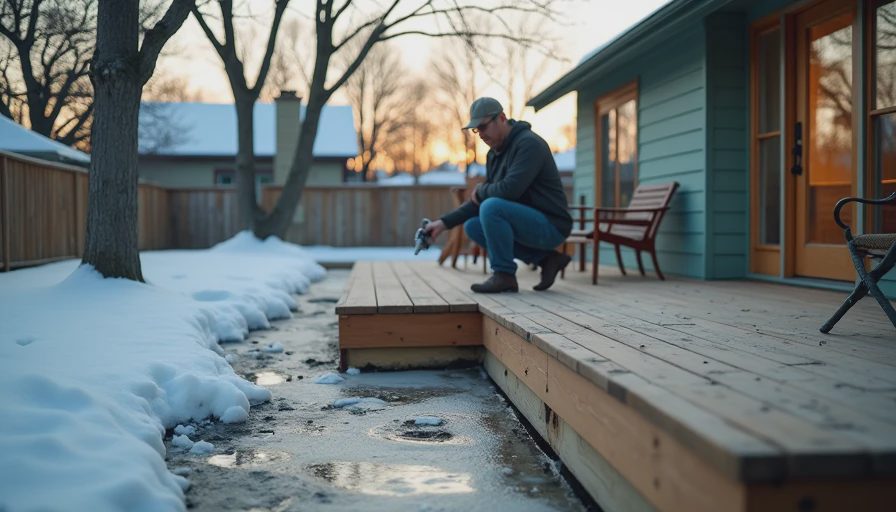
Choose Deck Boards That Can Handle Water
Pressure-treated pine is still the value choice for a freeze-thaw climate deck. It commonly costs less than composite, and damaged boards are easy to replace. The catch is maintenance. Let the boards dry after installation, then apply a quality water-repellent stain or sealer according to the product instructions. Most decks need attention every two to three years, sometimes sooner on a sunny south-facing side.
Cedar looks good but is softer and less forgiving around stairs, furniture legs, and snow shovels. It needs regular staining to hold its color and resist water. Redwood can perform well, but availability and price vary sharply by region.
Composite boards eliminate routine staining, which is a real advantage. Trex, TimberTech, and Fiberon all offer established product lines, but composite is not maintenance-free. Leaves collect in gaps, dark colors can get hot, and trapped moisture can stain the framing below. Follow the manufacturer's spacing requirements. A board installed too tight can buckle when temperatures rise.
For most homeowners, pressure-treated decking is the practical budget choice at about $4,000 to $9,000 installed for a modest ground-level deck. Composite often pushes the same project to $8,000 to $18,000 or more, depending on layout, railing, stairs, and labor.
Pay Attention to Fasteners and Board Movement
A freeze-thaw climate deck needs fasteners that will not rust, stain the boards, or loosen after repeated movement. Use exterior-rated coated structural screws or stainless-steel screws matched to the decking material. Standard drywall screws do not belong anywhere outside. They are brittle and corrode quickly.
Pre-drill near the ends of cedar and other soft boards to reduce splitting. Keep end cuts sealed with an appropriate preservative or end-grain sealer. Do not drive screws so deep that they create little cups where water can sit. On composite decking, use the manufacturer's approved hidden fastener system or face screws. Mixing brands can produce uneven gaps and void warranties.
Give boards room to drain. End joints should land on framing, and adjacent rows should not create one long line of seams. I like to stagger joints and use an approved flashing detail where two boards meet. Leave the required gap at walls and around posts. That narrow space is what lets water escape after a storm or thaw.
Drainage Matters More Than Fancy Railing
The most common failure I see is water trapped against the house. A ledger board must be properly flashed with a system that directs water over, not behind, the siding. The siding itself is not a substitute for ledger flashing. If the deck is attached to the home, this detail deserves a careful inspection before any boards cover it.
Slope the surface slightly away from the house when the design allows it. Keep downspouts from dumping onto the deck or beside the footings. On a freeze-thaw climate deck, water that repeatedly freezes under the ledger or around the stair stringers will find a weakness eventually.
Stairs need open, clear drainage as well. Do not bury the bottom of stringers in wet soil. Use gravel or a properly supported landing so meltwater can move away. A $300 to $800 drainage improvement during construction can prevent a much larger repair later.
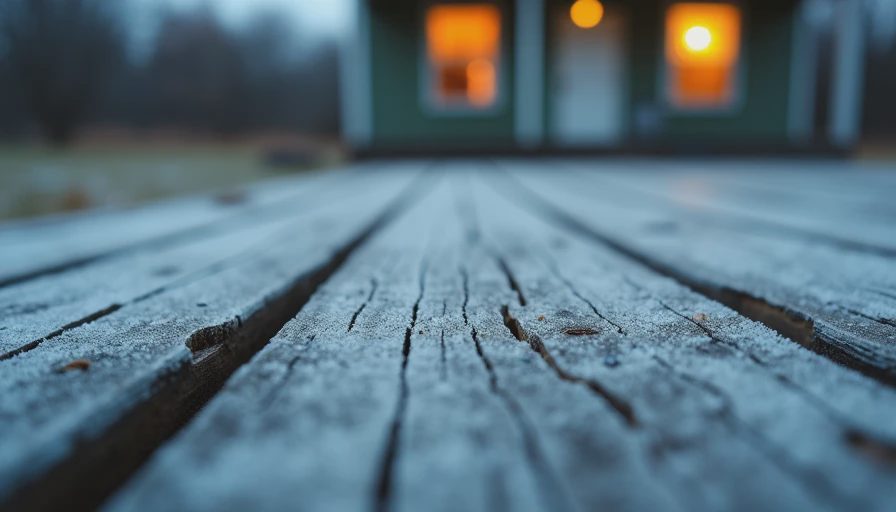
Inspect These Trouble Spots Every Spring
Walk the deck after the snow leaves, before you put out the furniture. Push a screwdriver into suspicious posts, stair stringers, and joist ends. Soft wood is a warning, especially where lumber touches concrete or soil. Look for black staining, mushroom-like growth, split boards, popped screws, and railings that move when you pull on them.
Check the ledger area from below if you can. Look for rusted fasteners, missing flashing, water marks, and a gap between the deck and the house. Test each stair tread and railing post. A railing that wiggles is not a cosmetic issue; it is a fall hazard.
Remove leaves from gaps and sweep off gritty winter debris. Avoid metal shovels that gouge boards. If a few boards are bad, replace them early. Waiting until rot spreads into the joists turns a $150 repair into a framing project that can cost $1,500 or more.
What a Sensible Budget Looks Like
A basic freeze-thaw climate deck repair might cost $500 to $2,000 for replacement boards, hardware, and labor. Replacing rotten joists or stair framing can run $2,000 to $6,000. A full rebuild with pressure-treated decking often lands between $12,000 and $25,000 for a medium-sized elevated deck. Composite, multiple stair runs, premium railings, and difficult access can move the project above $30,000.
Ask contractors to separate the estimate into demolition, footings, framing, decking, railing, stairs, and disposal. That makes it easier to compare bids. A low quote that leaves out ledger flashing or proper footing work is not a bargain. It is deferred cost.
When reviewing a freeze-thaw climate deck proposal, ask what fasteners will be used, how water will drain at the house, how posts will be supported, and what lumber treatment is specified. A contractor who cannot explain those details clearly is not ready to build your deck.
The Practical Build Plan
For a freeze-thaw climate deck, start with a site review in spring or early summer. Confirm the house attachment, grading, utility locations, and frost-depth requirements. Design the deck so snow and rain can drain without soaking the foundation or neighboring structure.
Use code-compliant footings, treated framing, corrosion-resistant connectors, and deck boards with the correct spacing. Protect the tops of joists, seal exposed end grain, and keep soil away from wood. Install railings firmly and make the stairs comfortable rather than steep. These details are not glamorous, but they are what keep a deck useful after ten winters.
I have been on that roof and under that deck. Let me save you the trip: spend less on decorative trim and more on water management. For a freeze-thaw climate deck, dry framing and honest installation beat a premium product installed carelessly every time.
Stay warm. Stay dry. — Dean



No notes on this sheet yet.