A wood deck railing should do two jobs without making a fuss: keep people safe and hold up through rain, snow, and freeze-thaw cycles. The first wood deck railing I built as a crew lead was on a 1980s split-level outside Minneapolis. The deck boards were tired, but the railing was worse. Posts had been lagged into the rim joist with short screws, the bottom edges sat in standing water, and one section moved several inches when I leaned on it. It looked fine from the kitchen window. It wasn't.
That is the trouble with deck railings. Paint can hide rot. A fresh coat of stain can make loose fasteners look respectable for another season. Before you choose pickets or a fancy top cap, make sure the framing underneath can carry the load and the posts are attached properly.
Start With the Deck Structure
A wood deck railing is only as dependable as the deck framing that supports it. Check the rim joist first. If it is soft, split, or pulling away from the deck, adding new railing posts will not solve the problem. I have removed railings where the posts were solid but the rim board had rotted behind them. The homeowner thought the railing was failing. The deck edge was the actual failure.
A proper post connection usually needs a substantial structural post, through-bolts or approved structural screws, and blocking between joists. Ordinary exterior deck screws are not a substitute for a post connection. The post should not rely on a handful of fasteners driven into the end grain of a board. On older decks, I often add blocking before installing new posts so the load transfers into more than one framing member.
Look at the stair railing separately. Stair posts see twisting and impact that straight-run posts do not. A railing can feel tight at the top of the stairs and still have a weak connection below the first tread. Walk every section, push it firmly, and inspect the underside with a flashlight.
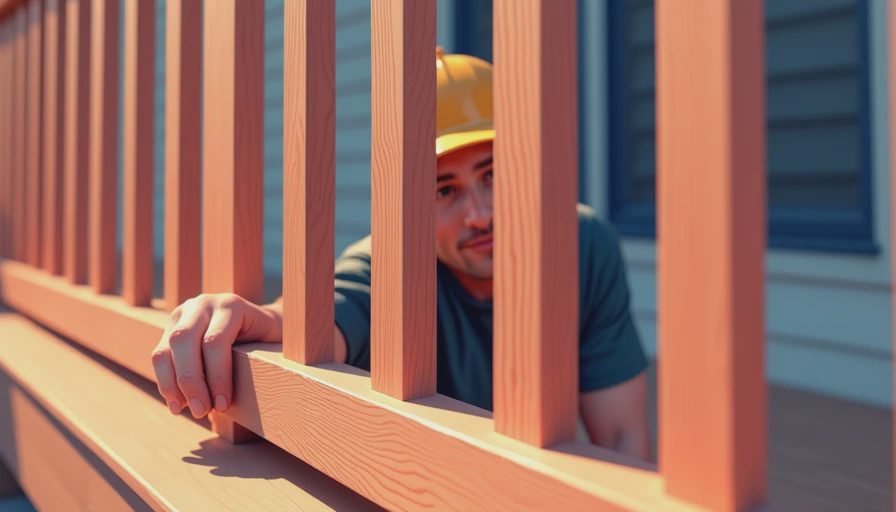
Choosing the Right Wood
Pressure-treated southern yellow pine is the practical choice for many wood deck railing projects. It is widely available, costs roughly $25 to $45 for a standard eight-foot 2x4 depending on grade and market, and handles outdoor exposure when cut ends are treated. It is not maintenance-free. Expect checking, raised grain, and some twisting, especially during the first year as the wood dries.
Cedar is lighter, easier to cut, and naturally resistant to decay. Clear cedar looks sharp, but it can cost two to three times as much as treated lumber. Knotty cedar saves money and suits a rustic deck, though knots can loosen and require more sanding. Redwood is attractive but often hard to justify in cold-climate projects unless the supply and price are unusually favorable.
For a wood deck railing that will be painted, I prefer a stable, straight-grained material with sealed end cuts. Do not mix damp treated lumber with tight painted joints. As the treated wood dries, joints can open and the paint can crack. Give new treated lumber time to dry, then use an exterior primer and paint intended for wood siding or trim.
Design Details That Prevent Problems
Keep the design simple. A 4x4 post, a solid top rail, properly spaced balusters, and a lower rail or support are easier to maintain than a decorative assembly with dozens of small joints. Every horizontal surface collects snow and water. Give those surfaces a slight slope or use a cap that sheds water instead of holding a little puddle against the post.
Baluster spacing is a safety issue, not a style preference. In many jurisdictions, the opening is limited to four inches, though local requirements can differ. A four-inch test sphere is commonly used during inspection. Measure the widest opening, including the space beside a post and at the stair angle. Stair balusters need special attention because the geometry changes as the railing rises.
Use galvanized or stainless fasteners rated for the lumber and exposure. The chemicals in treated wood can attack unsuitable hardware. I have pulled rusty bright-finish screws from a three-year-old deck and found orange streaks running down the boards. That is not a cosmetic problem only; corroded fasteners lose holding power.

What Wood Deck Railing Costs
For a straightforward replacement, a contractor may charge about $60 to $120 per linear foot for a basic treated-lumber wood deck railing, including demolition, installation, and ordinary hardware. Cedar commonly lands around $90 to $170 per linear foot. Stairs, custom cuts, painting, and difficult access push the number higher. A 30-foot straight run might cost $1,800 to $3,600 in treated lumber, while a project with two stair sections and several old posts could reach $5,000 or more.
Material prices are only part of the estimate. Removing an old railing can expose rotten rim boards, undersized joists, or deck posts set directly in soil. Each repair adds labor. Ask the contractor to separate the quote into demolition, structural repairs, railing materials, finish work, and disposal. That makes a low bid easier to compare with a complete bid.
A DIY homeowner with solid carpentry skills can save much of the labor, but this is not the place to learn structural fastening by trial and error. Renting a post-hole or oscillating tool will not fix a bad connection. If you are comfortable laying out cuts and using a circular saw, install the balusters and finish work yourself after a professional checks the framing.
Stain, Paint, and Winter Maintenance
The finish is where many wood deck railing projects go wrong. Do not stain wet treated lumber and expect it to last. Sprinkle water on the surface; if it beads strongly, the wood is not ready. If the water darkens the surface and soaks in, it is closer to ready for stain. Follow the product instructions rather than guessing from the calendar.
Use a penetrating exterior stain on a deck that needs a natural look. Solid stain gives more color and hides uneven boards, but it can peel when water gets behind it. Paint provides the strongest color coverage but demands better surface preparation and more frequent scraping at exposed joints. Seal end grain, especially at cut balusters and the bottoms of posts.
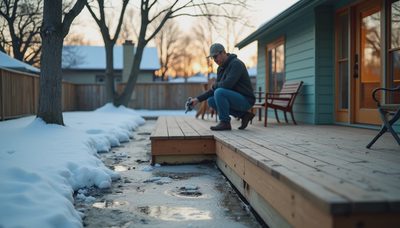
Each spring, inspect the wood deck railing before outdoor furniture and planters hide the lower connections. Look for soft spots, open joints, popped fasteners, black staining, and movement. Clear leaves from the post bases and keep sprinklers from hitting the railing every day. In snow country, do not pile wet snow against the posts. That repeated moisture is how a sound railing starts to rot from the bottom up.
Repair or Replace the Railing?
Repair makes sense when the posts, rim joist, and top rail are sound and the problem is limited to a few balusters or fasteners. Replace a cracked baluster, tighten a proper connection, and touch up the finish. That can be a $150 to $500 service call rather than a full replacement.
Replacement is the better value when several posts move, the bottom rail is soft, or the railing has been repeatedly painted over without addressing water entry. Do not wrap a rotted post with trim and call it fixed. I have opened those repairs and found almost nothing left inside except damp fibers and rusty screws.
A solid wood deck railing does not need to be expensive or ornamental. It needs a sound connection, dryable surfaces, compatible fasteners, and a finish you will actually maintain. Get two or three written estimates, ask how the posts connect to the framing, and make sure structural repairs are included. I've been on that roof. Let me save you the trip here, too: spend your money on the hidden connections before paying for decorative details.
Stay warm. Stay dry. — Dean


No notes on this sheet yet.