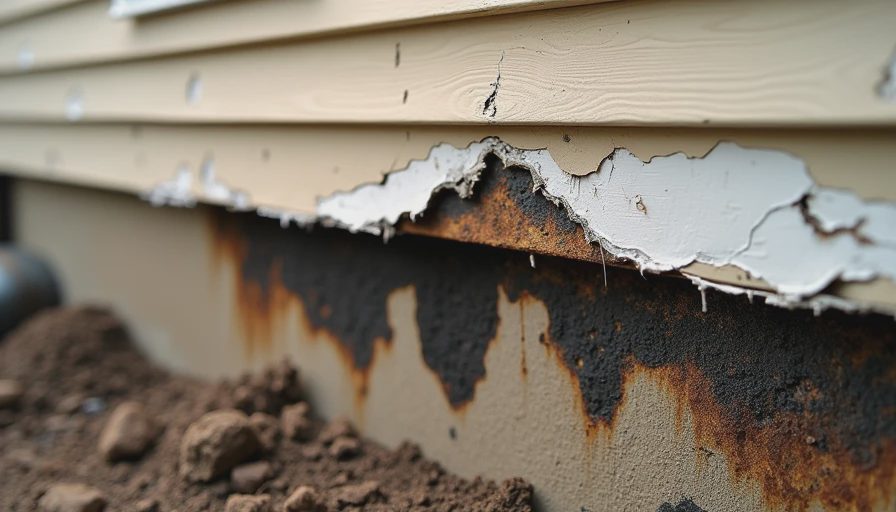
The Most Predictable (and Expensive) Siding Problem
I can’t tell you how many times I’ve shown up to a house and the homeowner points to the bottom of the siding saying, “It just started rotting there.” After 14 years installing and repairing siding, I can almost always predict where the worst damage will be — the bottom course.
This isn’t bad luck. It’s physics and poor detailing.
I've been on that roof — and those walls. Let me save you the trip.
Why the Bottom Row Rots First
Several factors combine to attack the lowest row of siding:
Water Splash-Back Rain and snow melt hit the ground or concrete and splash up behind the siding.
Poor Ground Clearance Many houses have siding installed too close to the ground or deck surface.
Missing or Failed Flashing No proper starter strip or Z-flashing to direct water away.
Inadequate House Wrap Tears or poor overlaps allow moisture behind the siding.
Freeze-Thaw Cycles Water gets behind the siding, freezes, expands, and pushes it away from the wall.
Once rot starts, it spreads quickly upward if not addressed.
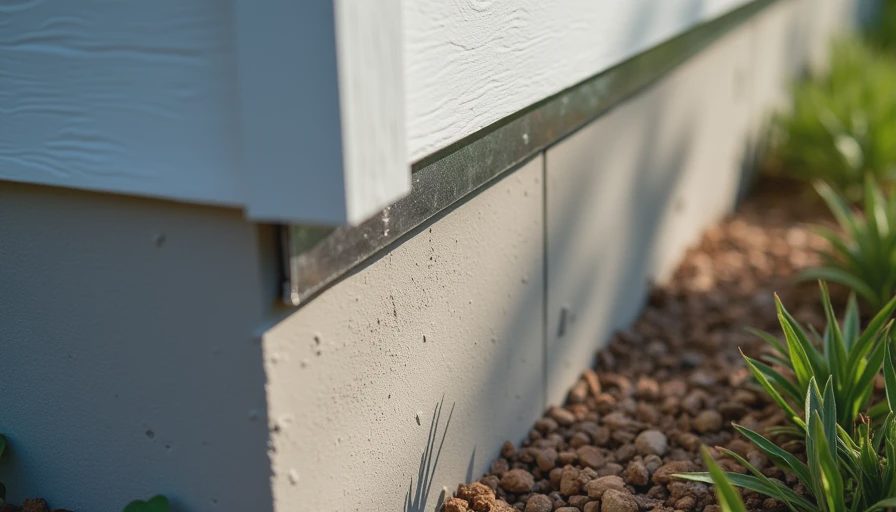
How to Inspect Your Bottom Course
Get down on your hands and knees (or use a mirror on a stick) and check:
Soft or spongy spots when you press with a screwdriver
Visible gaps or lifted edges
Discoloration or black staining
Bubbling or peeling paint
If you find damage, act quickly. The longer you wait, the more sheathing and framing you’ll have to replace.
The Proper Fix (From the Bottom Up)
For Minor Damage
Remove only the damaged pieces
Replace any rotted sheathing
Install proper Z-flashing or starter strip
Use pressure-treated or rot-resistant material for the bottom course
Seal all edges thoroughly
For Widespread Bottom Rot
Sometimes you have to remove several courses. This is a bigger job but still cheaper than letting it spread into the walls.
I always recommend using fiber cement or high-quality engineered wood for the bottom few courses — they resist rot far better than vinyl in splash zones.
Prevention Tips for New or Repaired Siding
Maintain at least 6–8 inches of clearance from ground to siding
Install proper metal flashing at the transition
Use a starter strip that creates a gap
Slope grade away from the foundation
Keep mulch and plants back from the foundation
These details separate jobs that last 30 years from ones that fail in under 10.
My Own House Experience
When I sided our colonial, I paid extra attention to the bottom course. I used fiber cement for the first two rows with generous flashing. Seven years later, it still looks perfect while I’ve seen many neighbor houses with rot starting at the bottom.
When to Call a Pro
If the damage goes beyond the first course or you see signs of sheathing rot, call an experienced contractor. Cutting corners here leads to much bigger repair bills later.
The Bigger Lesson
Most exterior problems start small and at the bottom. Water always finds the lowest point. Pay attention to details at ground level and you’ll prevent most major headaches.
Check your bottom row of siding this weekend. If you catch it early, the fix is straightforward and relatively inexpensive. Wait too long, and you’re looking at a much bigger project.
Stay warm. Stay dry.
— Dean





No notes on this sheet yet.