Wall framing is the skeleton behind your siding, insulation, windows, and interior drywall. When it stays square, dry, and properly connected, the rest of the house has a fighting chance. When it gets wet for years, exterior repairs become more than a siding job. You may be dealing with soft studs, swollen sheathing, loose windows, and a bill that grows after the siding comes off.
I've seen this happen on houses from Minneapolis to western Wisconsin. The homeowner points at one cracked piece of siding, expecting a simple patch. Then we remove a few courses and find a dark, damp corner underneath. I've been on that roof. Let me save you the trip: don't judge the size of an exterior problem by the size of the visible stain.
What wall framing actually does
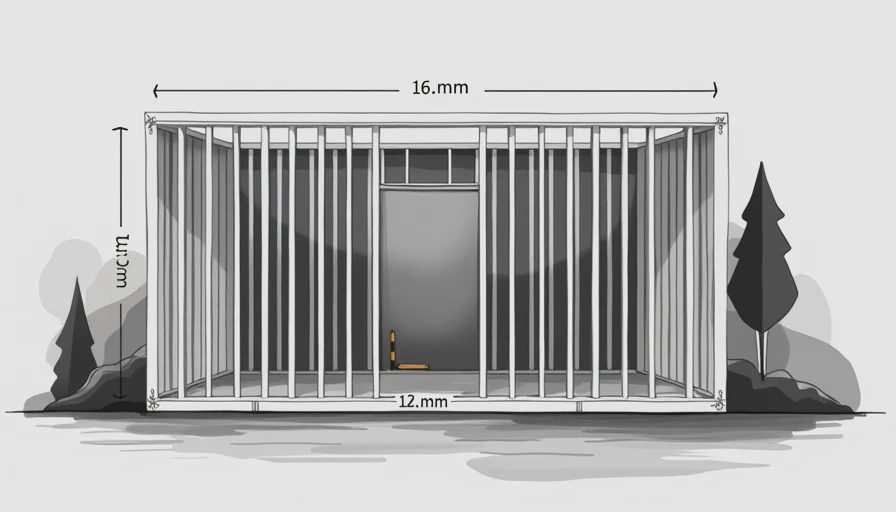
Most wood-framed houses use vertical studs, horizontal plates, and headers over doors and windows. Together, those pieces carry roof and floor loads down to the foundation. The sheathing fastened over the studs adds stiffness, while house wrap and siding help manage rain and air movement.
In a typical 1980s or 1990s home, the studs may be standard 2-by-4 lumber with plywood or oriented strand board sheathing. Newer construction often uses similar framing, but the insulation, air-sealing, flashing, and moisture details can be different. The materials aren't the whole story. Installation matters more than the label on the lumber.
A window opening is a good example. The header carries weight above the opening, jack studs support the header, and king studs continue alongside the opening. If a contractor cuts framing without installing proper support, the window can sag, the drywall can crack, or the opening can leak. That isn't a caulk problem. It is a structural and water-management problem.
Where moisture damages framing first
Water usually enters through a detail, not through the middle of an intact siding panel. Common trouble spots include window corners, deck ledgers, roof-to-wall transitions, plumbing penetrations, and the bottom edge of siding near a porch or driveway. In cold climates, freeze-thaw cycles make small failures worse. Water gets into a joint, freezes, expands, and opens the path a little farther.
At the bottom of a wall, look for swollen trim, peeling paint, dark stains, soft wood, or siding that feels unusually loose. Inside, check for a musty smell, brown drywall marks, bubbling paint, and baseboards that swell near exterior corners. A moisture meter can help, but it doesn't replace opening the assembly when the evidence is strong.
One Edina house I worked on had a small crack beside a second-floor window. The homeowner had caulked it twice. Behind the trim, the sheathing was soft for nearly four feet, and one stud had lost enough material to require sistering. The lesson was simple: caulk can close a gap, but it cannot dry wet wood or replace missing wall framing.
Repair or replace the damaged section?
The right repair depends on how far the damage has traveled. A little surface rot in removable trim is usually a trim repair. Damaged sheathing might require cutting back to sound edges, installing matching panels, and adding proper flashing before the siding returns. A rotted stud may need to be replaced or reinforced from floor to ceiling, depending on its location and load.
A small exterior opening with limited damage might cost $800 to $2,000 after siding removal and replacement. A larger repair around several windows can run $3,000 to $8,000, especially when insulation, interior drywall, or electrical work is involved. Full replacement of a damaged exterior wall section costs more because the crew has to protect the house, remove materials carefully, rebuild the assembly, and make the new work blend with the old.
Don't let a contractor cover questionable wood with new siding just to keep the estimate low. That saves money for a few months and creates a harder repair later. Good wall framing work ends with a dry, supported, properly flashed surface—not just a clean-looking exterior.
How siding installation affects the structure
Siding is not the wall's primary waterproofing layer. It sheds most rain, but water still gets behind it at joints, fasteners, and openings. The wall needs a drainage plane, usually house wrap or another approved weather-resistive barrier, plus correctly installed flashings around windows and doors.
Vinyl siding needs room to move. Nails should hold it without pinning the panel tight, and the installer should leave the correct clearance at corners and J-channels. Fiber cement needs proper edge clearances, flashing, and paint or sealant at exposed cuts. Engineered wood also depends on careful spacing and protection at the bottom edge. A beautiful product installed against wet sheathing is still a bad wall.
When comparing bids, ask whether the price includes removal, sheathing replacement, house wrap, window flashing, trim, and disposal. A $9,000 siding estimate can become $14,000 when all the necessary wall framing repairs appear as extras. That isn't automatically dishonest, but the contract should explain how hidden damage is priced.
Questions to ask before hiring a contractor
Ask who will inspect the sheathing and framing after removal. Ask what happens if the crew finds rot behind a window. You want a written unit price for replacement sheathing, studs, insulation, and trim, not a vague statement that hidden damage will be billed at whatever the crew decides.
Also ask how the contractor will protect the exposed wall overnight. In a cold or wet climate, an open wall should not sit uncovered while the crew waits for the next workday. Ask about flashing tape, sill pans, house wrap integration, and how the new work will connect to the existing weather barrier.
A trustworthy contractor won't object to these questions. They should be able to explain the repair in plain language and show photos before covering it. If the answer is, “We always just caulk that,” keep calling other companies.
A practical inspection plan for your house
Start outside after a hard rain. Check window corners, roof-wall intersections, hose bibs, deck connections, and areas where siding meets masonry. Look for staining, gaps, buckling, or trim that stays wet after the rest of the wall dries.
Next, inspect the inside of the same walls. Move furniture, open closet doors, and check the lower corners with your hand. A cold spot is not proof of rot, but it can point to missing insulation or air leakage. Photograph every finding and mark the locations on a rough sketch of the house.
If you find soft wood, recurring leaks, or a window that has shifted, get an exterior contractor to open a small area and document what is there. Repairing wall framing before the next siding project costs less than removing brand-new siding to reach the same damage.
The goal isn't to tear into every wall. It is to understand what is behind the surface before paying for a cosmetic fix. Keep water out, give wet materials a chance to dry, and make sure every window, roof edge, and penetration is flashed as a system. Done right, wall framing disappears from view—and that's exactly what you want.
Stay warm. Stay dry. — Dean





No notes on this sheet yet.