Cold weather doesn't automatically make siding installation a bad idea. I've installed siding in Minnesota when the thermometer was hovering around 25 degrees. The trouble starts when a crew treats a winter job like a July job. The most expensive winter siding installation mistakes usually involve brittle materials, rushed prep, bad fastening, and ignoring moisture behind the wall.
I've been on that roof. Let me save you the trip. A careful contractor can work through a cold season, but the plan needs to account for freeze-thaw cycles, short daylight, snow around the foundation, and materials that don't behave normally below freezing.
Mistake 1: Installing brittle vinyl in extreme cold
Vinyl siding gets less flexible as temperatures fall. At 20 degrees, a panel can crack around a cut or nail slot when a worker forces it into place. I've seen installers break corner posts simply by trying to snap frozen material too aggressively. One cracked piece might cost $20 to replace. A damaged run under a window can mean removing several courses and matching the color later, which is harder than it sounds.
The better approach is to store panels in a heated garage or enclosed trailer before installation. Crews should bring only what they can use that day and handle each piece without bending it sharply. Vinyl also needs room to move. Nails belong in the center of the slots and should be driven loose enough for the panel to slide side to side. A crew that pins every panel tight is setting up future buckling when summer arrives.
Ask the contractor what temperature limit the siding manufacturer lists. There isn't one universal number for every brand, so a confident answer should include the product name and installation instructions, not just “we do this all winter.”
Mistake 2: Skipping the wall inspection
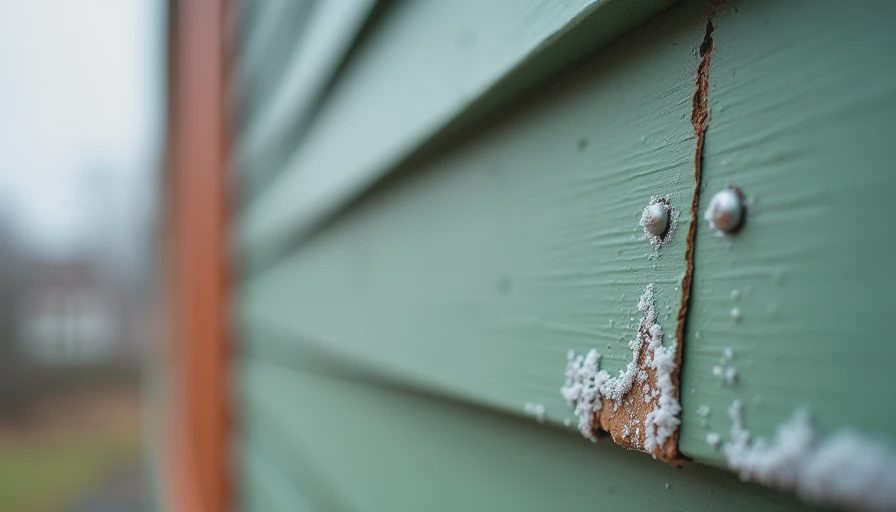
Cold weather makes it tempting to cover a problem and get off the ladder. That's how winter siding installation mistakes turn into wet framing and rotten sheathing. Before new siding goes on, someone needs to inspect the old wall, window openings, sill plates, and areas beneath hose bibs and deck ledgers.
I once worked on a 2004 house in Edina where the homeowner thought the siding had simply faded. After removal, we found soft sheathing below a second-floor window. The original installer had relied on caulk instead of proper flashing. Water had been traveling down the wall for years. The repair added roughly $1,200, but finding it before new siding went up saved the homeowner from opening the wall again later.
A good inspection doesn't require tearing apart the whole house. Probe suspicious areas with an awl, look for dark or swollen wood, and check whether the old house wrap is continuous. Damaged sheathing should be replaced. New flashing tape should direct water outward, not trap it behind the trim.
Mistake 3: Treating house wrap as a cosmetic layer
House wrap is not a magic raincoat, and it isn't useful when installed with large tears and open seams. Winter siding installation mistakes often happen because a crew hangs wrap quickly, then assumes the siding will hide everything.
The wrap should overlap in shingle fashion, with lower sections behind upper sections so water runs down and out. Window and door openings need careful integration with flashing. Penetrations for lights, vents, and electrical boxes should be sealed with compatible tape or sealant. If the existing wrap is badly damaged, replacing sections is usually cheap compared with repairing wet insulation later.
Don't confuse siding with the water-resistive barrier. Siding sheds most bulk water, but wind-driven rain can reach the drainage plane. That is why the layer behind the siding matters. On a typical 2,000-square-foot house, proper wrap, flashing tape, and installation labor may add several hundred dollars. It is money well spent.
Mistake 4: Using the wrong fasteners and nailing pressure
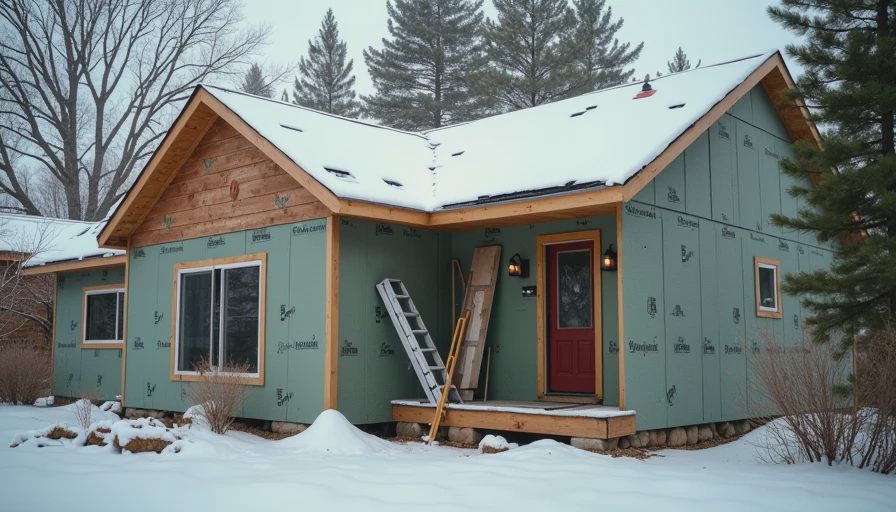
A siding nail should hold the panel while still allowing movement. Galvanized roofing nails are common for vinyl, while fiber cement usually requires the fastener specified by the manufacturer. The exact choice depends on the product, wall assembly, and local exposure, but random leftovers from another job are not a plan.
Overdriven nails create dimples and prevent movement. Underdriven nails leave panels loose and noisy. For fiber cement, the crew also needs proper spacing from edges and cut ends. Hardie board, Allura, and engineered wood products each publish installation details that should be followed rather than guessed at.
Watch the crew for a few minutes. If every nail head is buried below the panel, stop and ask why. If workers are shooting nails through the face of vinyl, that's another warning unless the manufacturer specifically allows that method for a particular detail. Small fastening errors multiply across hundreds of panels.
Mistake 5: Installing fiber cement without managing moisture
Fiber cement is durable, but it is not waterproof at every cut edge. Winter siding installation mistakes with this material include leaving field-cut ends unsealed, stacking boards directly in snow, and installing wet boards tight against trim.
Fiber cement should be kept flat, supported, and protected from ground moisture. Cut ends often need the manufacturer's recommended sealant or touch-up coating. Butt joints need the specified flashing or joint treatment. At the bottom course, maintain the required clearance above roofing, decks, concrete, and soil. Snow can hide a clearance problem during installation, then hold moisture against the board for weeks.
A two-person crew can often install fiber cement on an average ranch in several working days, but cold weather slows cutting, caulking, and painting. If a contractor promises a complete, detailed job in one day, ask what gets skipped. Labor for a typical fiber cement re-side may run $15,000 to $25,000 or more, so the prep should not be treated as an afterthought.
Mistake 6: Caulking over frozen or dirty surfaces
Caulk needs a reasonably clean, dry surface to bond. Applying it to icy trim or a damp substrate is one of the winter siding installation mistakes I see when crews are chasing a deadline. The bead may look finished that afternoon and pull loose during the next warm spell.
Cold-weather sealants exist, but they still have application limits. The crew should remove frost, brush away dust, and follow the product's minimum temperature. Some sealants need warmer conditions or extra curing time. Around windows, the goal is controlled water management, not a thick bead covering every questionable joint.
This matters most at inside and outside corners, window trim, utility penetrations, and transitions to roofing. A neat bead is useful. It cannot replace flashing, correct clearances, or a drainage path.
How to avoid winter siding installation mistakes
Before signing, ask for the siding brand, product line, fastening method, weather limits, and plan for protecting materials overnight. Get the prep work written into the estimate. “Install siding” is not enough; the scope should mention house wrap, flashing, sheathing repairs, trim, disposal, and caulking.
Walk the property with the crew lead before work begins. Point out the basement window that leaks, the deck ledger that stays wet, and any interior stain you have noticed. Take photos of exposed walls before they are covered. During installation, look for loose nails, damaged panels, open wrap seams, and debris packed against the foundation.
Prices vary by material and access, but a vinyl job on an average ranch commonly falls around $8,000 to $14,000. Fiber cement often lands closer to $15,000 to $25,000. A suspiciously low bid may simply leave out flashing repairs, trim replacement, or disposal. Get two or three detailed bids instead of comparing only the bottom line.
Winter work can be done well. It just needs a crew willing to slow down when the material, wall, or weather says slow down. Avoid these winter siding installation mistakes, and your new exterior has a better chance of surviving its first freeze-thaw season without buckling, leaks, or surprise repair bills.
Stay warm. Stay dry. — Dean





No notes on this sheet yet.