4x8 exterior panels are popular because they cover a lot of wall quickly. One sheet covers 32 square feet, which sounds simple until you’re standing in a lumberyard comparing plywood, OSB, fiber cement, hardboard, and insulated products. They don’t do the same job, and using the wrong one can leave you with swollen edges, cracked joints, or a wall that leaks during the first hard winter.
I’ve installed plenty of them over the years. Some were smart choices. Others went straight into my mistake bucket after a homeowner tried to save money with an interior-grade sheet or skipped the flashing details. Here’s how to sort the useful panels from the expensive trouble.
What 4x8 exterior panels are used for
The term usually describes a sheet measuring 4 feet by 8 feet, not one specific product. Exterior panels can serve as structural wall sheathing, weather-resistant siding, decorative cladding, or insulation. Start by deciding which job the panel needs to perform.
Structural plywood and OSB sheathing go behind the siding. They help tie wall studs together and provide a solid surface for house wrap and exterior cladding. They are not automatically finished siding. Some plywood products have a rated exterior veneer and can be painted, but that does not mean every sheet at the home center belongs on an exposed wall.
Fiber cement panels, such as James Hardie’s vertical panel siding, are finished cladding. They resist rot and insects, but they are heavy and need careful handling. Engineered wood panels from brands such as LP SmartSide are lighter and easier to cut, while still needing proper clearances from roofs, decks, and grade.
A panel’s label matters more than its appearance. Look for exterior-rated adhesive, an exposure rating, installation instructions, and the required fasteners. If the sheet is labeled for interior use, leave it inside.

Plywood, OSB, fiber cement, or engineered wood?
For wall sheathing, plywood costs more than OSB but handles wet jobsite conditions better when edges are protected. A 7/16-inch OSB sheet might run $12 to $25, while comparable plywood can cost $25 to $45 or more. OSB is perfectly serviceable when it is installed correctly, covered promptly, and kept away from standing water.
For exposed siding, fiber cement is a durable choice. It commonly costs about $2.50 to $6 per square foot for material, depending on the profile and finish. Installation is more labor-intensive because sheets are heavy and cutting creates dust. A crew needs proper respirators, layout tools, and flashing tape around openings. Fiber cement also needs paint or a factory finish maintained according to the product instructions.
Engineered wood usually lands around $2 to $5 per square foot for material. It cuts more like wood and is easier on a small crew. I like it when the installer respects the bottom clearance and seals cut ends. Water gets behind siding at windows, doors, and roof lines. The panel itself isn’t usually the first failure; lazy detailing is.
The details that keep panels from failing
The best 4x8 exterior panels still fail when water has no way out. On a typical wall, the sequence is sheathing, house wrap or another approved water-resistive barrier, flashing at openings, then siding. The exact assembly depends on the product and local code, but the basic goal is the same: drain water before it reaches the framing.
Keep panel joints staggered when the installation instructions call for it. Leave the specified gap between sheets, then cover that joint with the approved batten, trim, or joint treatment. Do not fill every seam with random caulk and assume the wall is sealed. Caulk is not a replacement for flashing.
Windows deserve extra attention. The sill needs a pan or compatible flashing detail, the side jambs need layered flashing, and the head flashing should direct water over the trim. I once opened up a 2004 house in Edina where the siding looked fine from the yard. Behind one window, the builder had relied on caulk alone. The sheathing was dark and soft for nearly two feet below the sill.
At the bottom of the wall, keep panels clear of soil, concrete, and roof runoff. A few inches of clearance can be the difference between a clean repair and replacing the lower section of wall.
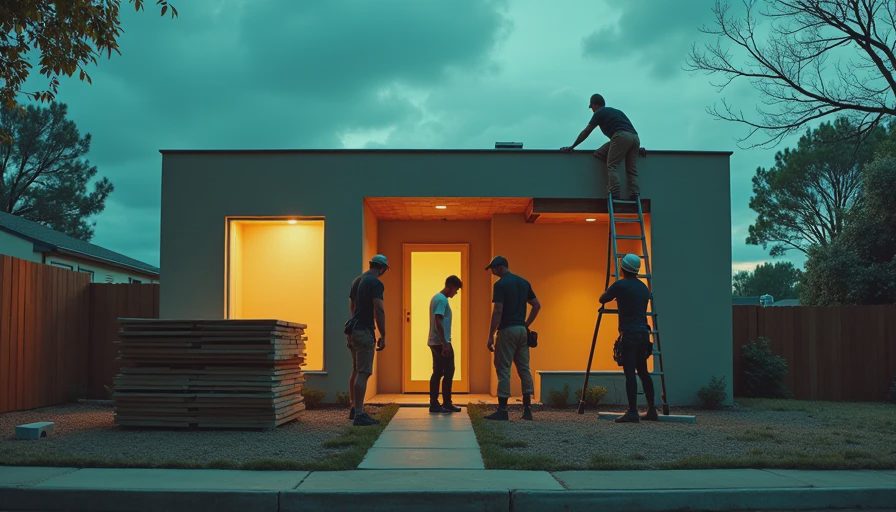
How much should a panel project cost?
Material prices move, but a rough planning range helps. A basic sheathing job might use $2,000 to $5,000 in panels on a modest ranch, before labor, house wrap, trim, and disposal. Replacing exposed siding with fiber cement or engineered wood can run $10,000 to $25,000 for many single-family homes. Complex gables, multiple stories, rotten framing, and window trim push the number higher.
A 4x8 exterior panels project also has waste. Budget roughly 10 percent for cuts, damaged edges, and awkward wall sections. A simple rectangular addition wastes less than a house with dormers and several bump-outs. Labor can add $4 to $12 per square foot depending on removal, access, flashing, and the siding material.
Get the estimate broken into tear-off, repairs, water-resistive barrier, flashing, panels, trim, paint, and cleanup. If a contractor gives one unexplained number, you cannot tell whether the expensive part is the material or the missing preparation.
A cold-weather installation checklist
Before approving the job, walk through these items with the installer:
- Confirm the exact product and whether it is sheathing or finished siding.
- Ask how the contractor will protect sheets from rain and snow before installation.
- Confirm the house wrap, seam treatment, and window flashing plan.
- Check fastener type, spacing, and whether nails will hit framing or approved backing.
- Ask how bottom edges will stay clear of grade, decks, and roof surfaces.
- Require replacement of soft sheathing instead of covering it.
- Confirm who handles priming, painting, and sealing cut edges.
- Ask for the manufacturer’s installation guide, not just a verbal promise.
Cold climates expose shortcuts. Freeze-thaw cycles open small gaps, wind-driven snow finds unprotected joints, and trapped moisture has a long season to damage framing. The first winter may reveal a bad detail, but the expensive rot can take longer to show.
When DIY makes sense and when to hire help
Carrying and cutting 4x8 exterior panels is manageable for an experienced homeowner with a second set of hands, a level cutting station, and safe staging. A garage wall or small shed is a reasonable learning project. Use eye protection, hearing protection, and the dust control required by the product.
A full house is different. You are dealing with ladders, openings, roof transitions, structural sheathing, and weather exposure. If the project includes rotten framing, window removal, or a two-story wall, call a qualified exterior contractor. Saving $2,000 in labor is not a bargain if one missed flashing detail creates $8,000 in interior and structural repairs.
My advice is simple: choose the panel for the job, follow its installation guide, and spend money on the water-management details. I’ve been on that roof. Let me save you the trip.
Stay warm. Stay dry. — Dean




No notes on this sheet yet.