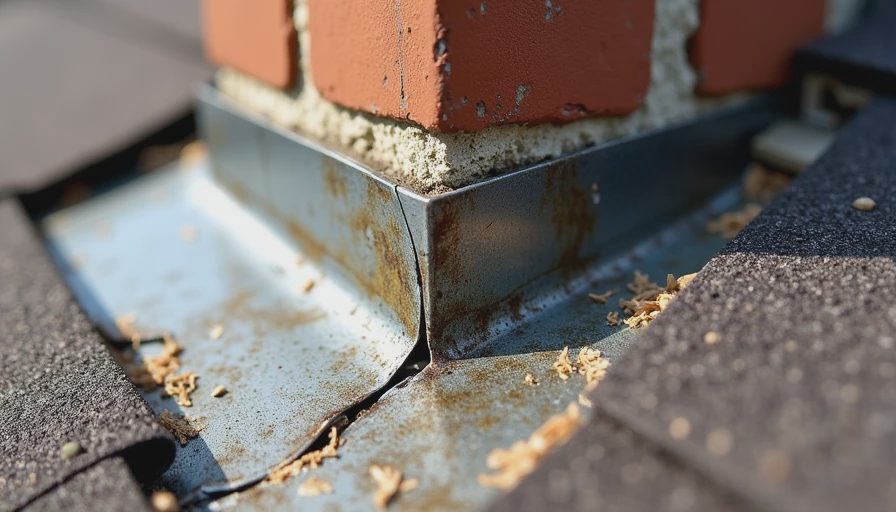
The Phone Call That Starts Most Leak Investigations
The call usually comes in spring or after a heavy rain: “Water is coming through my ceiling and I don’t know where it’s from.” Many homeowners assume the roof is failing. Sometimes it is. But very often the real problem is somewhere else.
After investigating hundreds of leaks over 14 years, I developed a standard first step that solves the mystery faster than anything else.
I've been on that roof. Let me save you the trip.
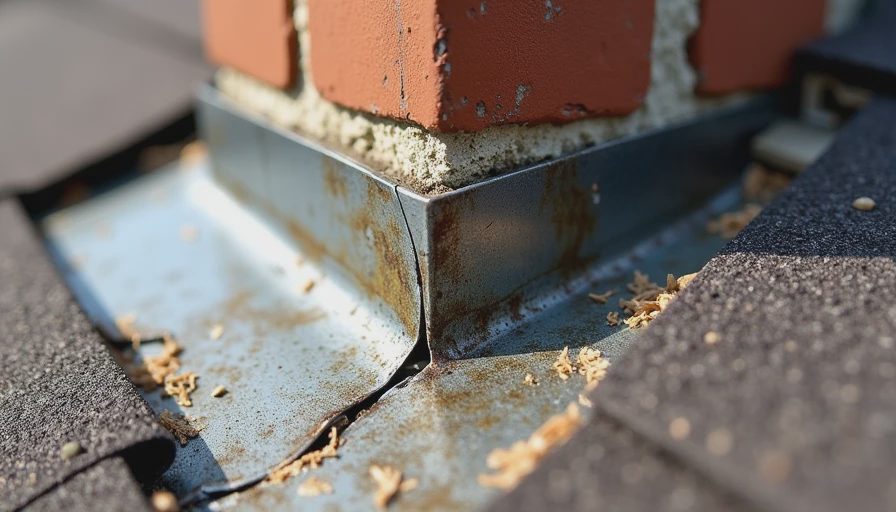
The First Thing I Always Check: Flashing Details
Before I even look at the ceiling stain, I head straight to the most common leak sources:
Chimney flashing
Valley flashing
Step flashing around walls and dormers
Vent pipe boots
Skylight edges
Roof-to-wall transitions
Why? Because the vast majority of leaks I’ve fixed weren’t from failed shingles — they were from failed or missing flashing details.
Why Flashing Fails So Often
Flashing is supposed to direct water away from vulnerable joints. But over time:
Caulk dries out and cracks
Metal corrodes
Installers cut corners on original construction
Wind and ice work connections loose
Tree branches or snow removal cause damage
In cold climates, the freeze-thaw cycle makes these problems worse.
Common Leak Scenarios I See
Scenario 1: Chimney Leaks
Water runs down the chimney and finds a gap in the step flashing. It travels under the shingles and enters the house far from the actual chimney.
Scenario 2: Valley Leaks
Two roof planes meet in a valley. If the flashing isn’t overlapped correctly or the underlayment fails, water backs up and enters the attic.
Scenario 3: Dormer or Wall Transitions
Step flashing that wasn’t properly integrated with the siding or counterflashing fails over time.
Scenario 4: Plumbing Vent Pipes
The rubber boot around the pipe dries out and cracks, allowing water straight down into the attic.
How I Actually Diagnose a Leak
Exterior inspection first — especially all flashing areas
Attic check — look for water stains on rafters and sheathing
Interior stain analysis — water travels, so the stain isn’t always directly below the leak
Test with hose — when safe, to confirm the exact entry point
This systematic approach saves homeowners from unnecessary full roof replacements.
Prevention Advice
Have flashing inspected every 5–7 years
Keep trees trimmed away from the roof
Don’t rely on caulk alone — proper metal flashing is key
Address small problems before they become big ones
The Bigger Lesson
Most roof “failures” aren’t really about the shingles. They’re about the details where different materials or planes meet. Master flashing and you prevent most leaks before they start.
Next time you have a leak, tell your contractor to start with the flashing. It might save you a very expensive roof replacement.
Stay warm. Stay dry.
— Dean





No notes on this sheet yet.